Scratch Cards and Posters Artwork Guide
Before you start putting digital paint to digital canvas, make sure you begin your artwork file with the right settings in place.
You can use any design software you like to create your scratch cards design, as long as it can save your finished artwork as a PDF. The ScratchCardPrinting.co.uk team can also accept other file types; see our FAQs for more details.
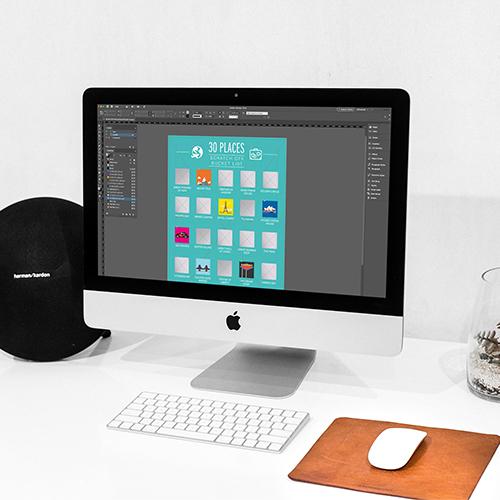
We recommend using Adobe Illustrator or InDesign, although Photoshop may also be useful if you’re planning a design which uses photography.
Set your artwork dimensions to match the size of the scratch cards or posters you’re looking to print, plus a bleed area of at least 3mm and a 300ppi resolution. (Alternatively, simply download our free ready-scaled scratch card templates and get stuck in!)
It’s a good idea to set up a safe zone, 5mm in from the edge of the card/poster size and 10mm for A4 size and upwards. This can help you avoid placing key text and graphics too close to the paper edge, where they may get trimmed off accidentally.
Make sure your design software is set to CMYK colour mode, rather than RGB mode.

Design your heart out
Now it’s time to get the creative juices flowing.
There’s no rules on what your scratch card design should look like; but there’s a few things to keep in mind to ensure the best print results.
What makes a winning scratch card design? See our marketing tips here.
Need a little inspiration? Take a look at our scratch card gallery.
Be sure to add your scratch-off panels (and any overprint artwork) on a separate layer to the rest of your artwork, and give the layer an appropriate name (eg ‘scratch panels’). Choose from gold scratch off panels, silver scratch off panels or black scratch off latex.
If you’re using photos or image files in your artwork, make sure each image’s resolution is at least 300ppi at the size you want. Be aware that scaling images up decreases the resolution, which can create pixelation problems in the final print.
Don’t forget to consider the bleed area and safe zone when designing your artwork. Make sure any colour blocks or images which you want to reach the edge of the paper are extended into the bleed area; and any important text or graphics are kept well outside the bleed area and within the safe zone.

Take Care of the Extras
Tick all the legal boxes
It’s a boring job, but if you’re planning a scratch card campaign, don’t forget to include all the required regulatory information.
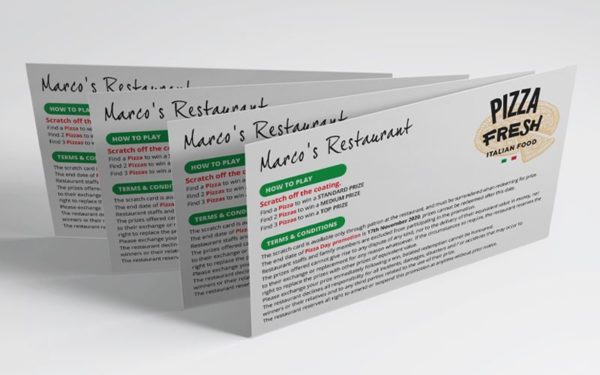
All standard scratchcard prints come with double-sided printing as standard – great for adding terms and conditions on the back. We recommend designing and saving the reverse design for your cards as a separate design file.
For more information on legal requirements for scratch card campaigns in the UK, visit the ASA/CAP and Gambling Commission websites.

Save Your Print-Ready Artwork
Once you’re 100% happy with your design, it’s time to save it and send it on over to us!
As mentioned earlier, it’s best to supply your artwork as high-res PDF files at 300ppi. Avoid saving your artwork as interactive PDFs, as these aren’t suitable for printing.
Be sure to add crop marks (aka printers marks) to your artwork. Most design software will enable you to do this when saving your files.
You can upload your artwork files at your shopping basket page, or you can email them directly to sales@scratchcardprinting.co.uk.
Don’t forget to include your variable data spreadsheet and variable image files if necessary!
Once we’ve received your artwork files, we’ll begin processing your order and you’ll receive a free PDF proof to review before we go to print – so any issues with your design can be caught early!

Done browsing and ready to order?
Order online today with fast & free UK Mainland delivery!